We have gotten comments from customers that they would like more control over the Remedyforce Self-Service portal. There has been a way to do that for a while, but I only recently tried it out. It’s something called Salesforce Experience (used to be called Community); if you are using Remedyforce for internal users, it is included in your licensing (it would be an add-on for external users). It’s easy once you get started!
How to start?
As an administrator, go to Setup/Digital Experiences/All Sites and click on New.
On the next screen, choose your theme. I like “Help Center” but you can pick whichever one you want. You can pick a different theme later or modify the selected theme.
Click Get Started, enter a name (and I recommend putting it into the URL below the name field) and you’ll be in your site after a short wait.
While we’re waiting
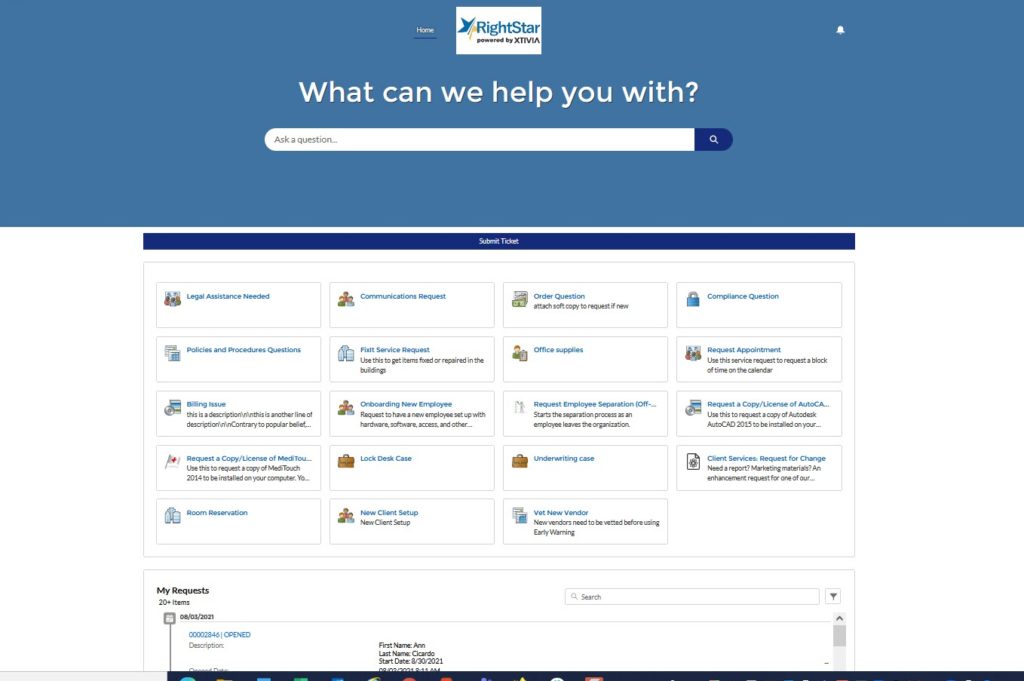
Here is what I ended up with after not very much time and with very little experience of … Experience. Like it? keep reading!
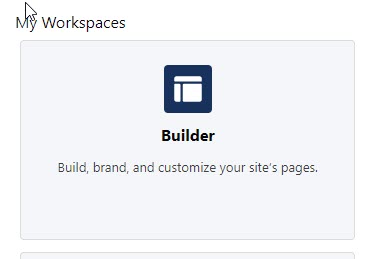
Builder
On the next screen, select the Builder icon. We’ll come back to Administration later, but first let’s do Builder
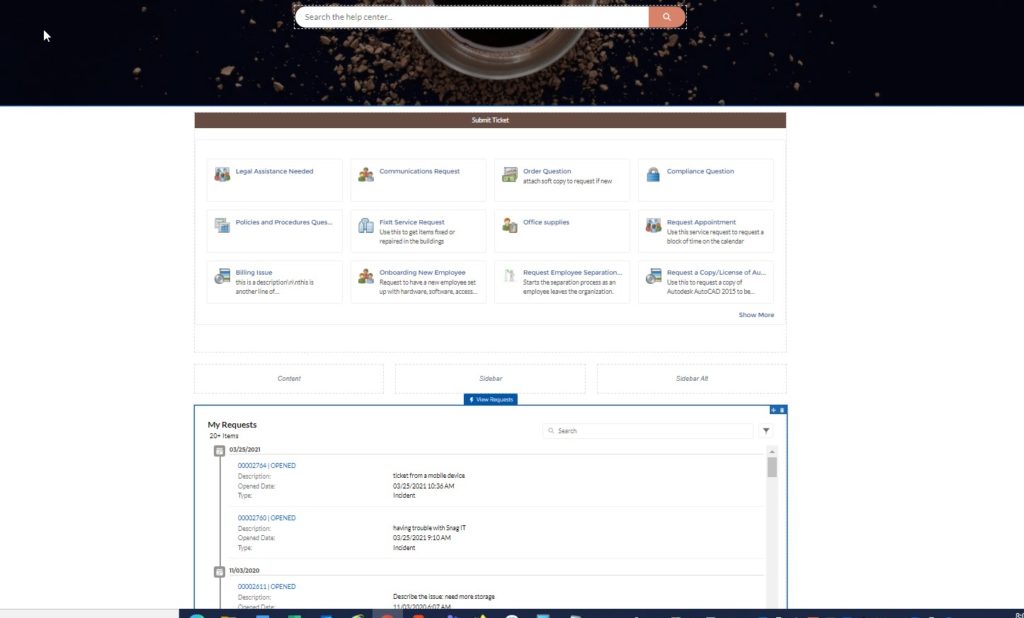
Now let’s have some fun! The top Icon is “Components” – Click on that, scroll to the bottom, and look for these components: Submit a ticket, Service Catalog, and View Requests. Drop them below the graphic in that order.
Now we have something like this:
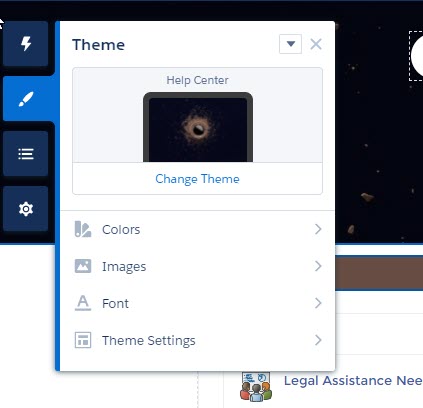
Don’t like the color on Submit Ticket? On the left, hit the Theme Icon, Colors, and then change the color in Action Color.

And Voila!

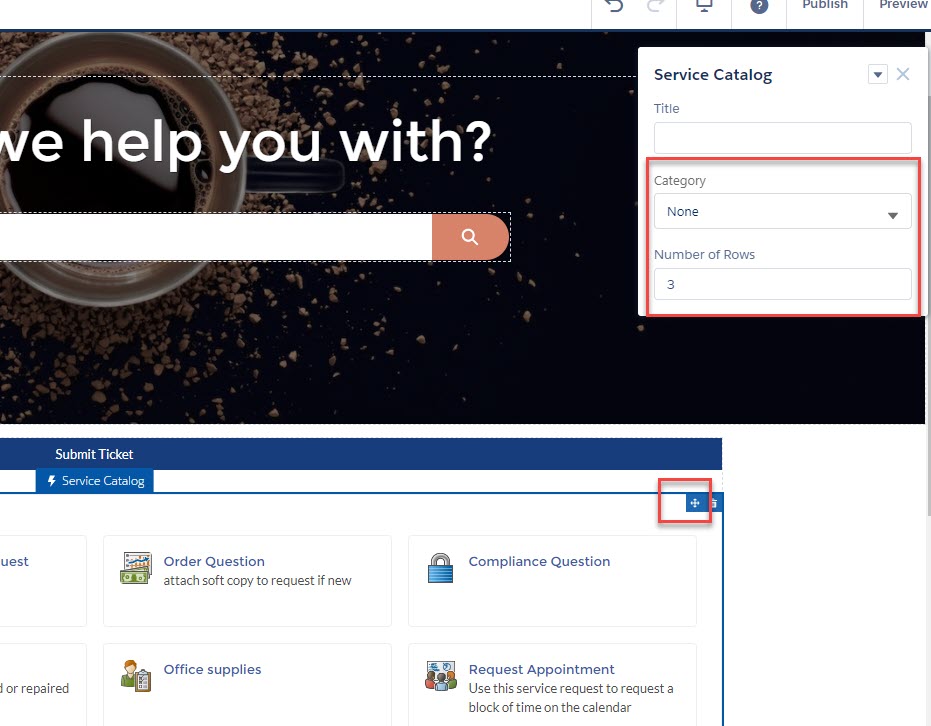
Ok, a few key other tips – If you click in the Service catalog, you’ll see this icon and can get to this box. You can segment the service catalog by Category – so you might have one box for Human Resources, another for Hardware. Or leave Category None and see everything. You can also change the number of rows.
Click around on the background of the picture, and you can get rid of the image and change the colors (that’s what I did in my picture up above)
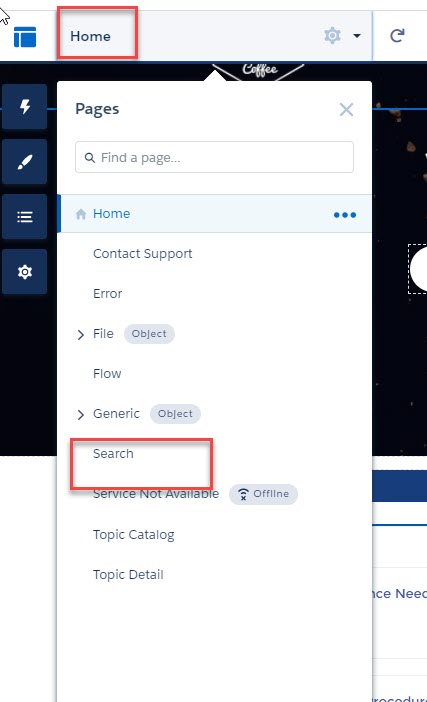
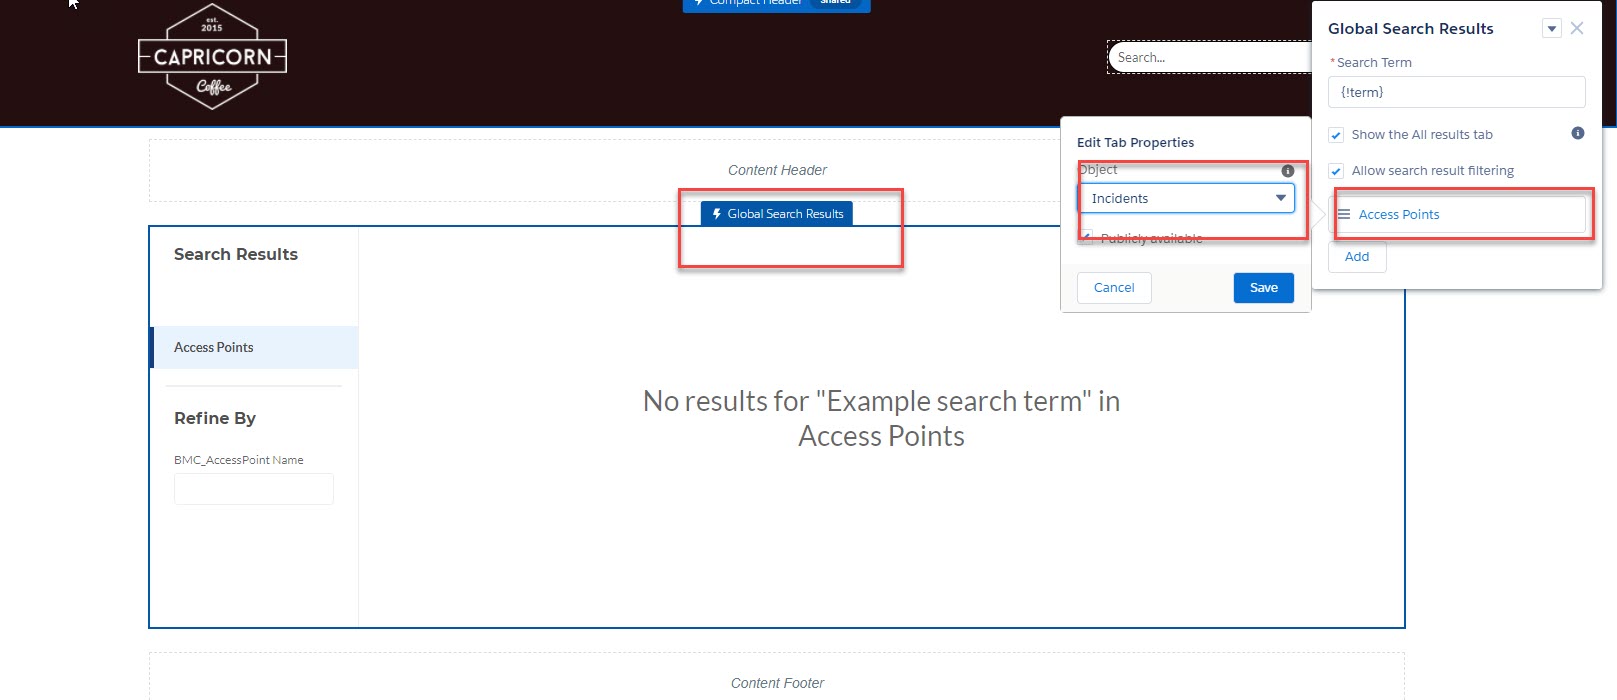
Once you do a search, you can modify the Search page to point to incidents and knowledge articles – or go to your Home Button and choose the search page and modify there.
Getting back to Administration
The last thing I’ll mention – you’ll want to get back to administration – click the top left icon and choose Administration.
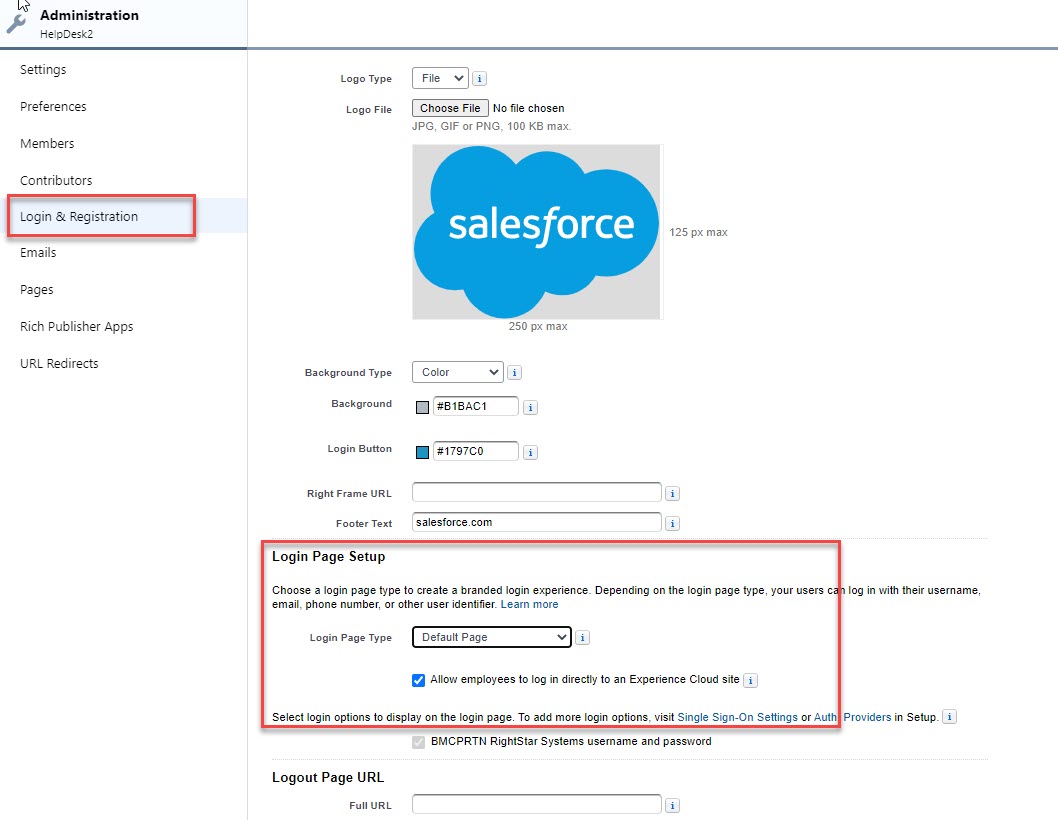
I haven’t done a lot in here, but one thing you will want to do is check this box to make sure your users can log in normally. (Otherwise, they will need to do an extra click to get to the login screen which isn’t intuitive.) Oh- and go to the Members link to add profiles/permission sets who can see this site.
How to log in as a user?
Remember back when you first started creating this and you named it? that created a URL that people can use to login. (Note – you can have multiple sites too if you want, with different logins.) You can find this URL in Builder, under Settings/General; or you can see it in Setup/Digital Experiences/All Sites.
Please try stuff!
There is a lot you can do in the Builder. This doesn’t impact your normal Self-Service site so you can play while your normal site is out there. But of course, we recommend doing in your sandbox first. I am far from expert on this; I played with it for a couple hours and got the site you see towards the beginning of this post (but still haven’t gotten my logout button to work). So have fun, try things out, and see if this will work for your internal users!
And if you want to see this in a video, here is a link – https://www.youtube.com/watch?v=jrHdaAVaA9Y
Interested?
If you want a RightStar consultant to work with you on building out an Experience site, contact your RightStar Sales rep or email [email protected] to get a quote

