If you are a new Atlassian customer or new to the cloud, it is useful to know that many Atlassian partners, such as RightStar, can offer discounts on your cloud licenses.
However, there are some steps that you need to take to help us help you. For us to create a quote and extend your discounts for Atlassian Cloud Licenses, we need you to create a trial site that is configured with the products and marketplace apps that you want to be quoted.
In this article and the short video, we’re going to demonstrate what you need to do and what information we need to create your quote.
Tutorial
For this tutorial, we’re going to add Jira as our main product, then Jira Service Management and Confluence as additional products, and then a couple of marketplace apps so that you can see the entire process.
Step 1
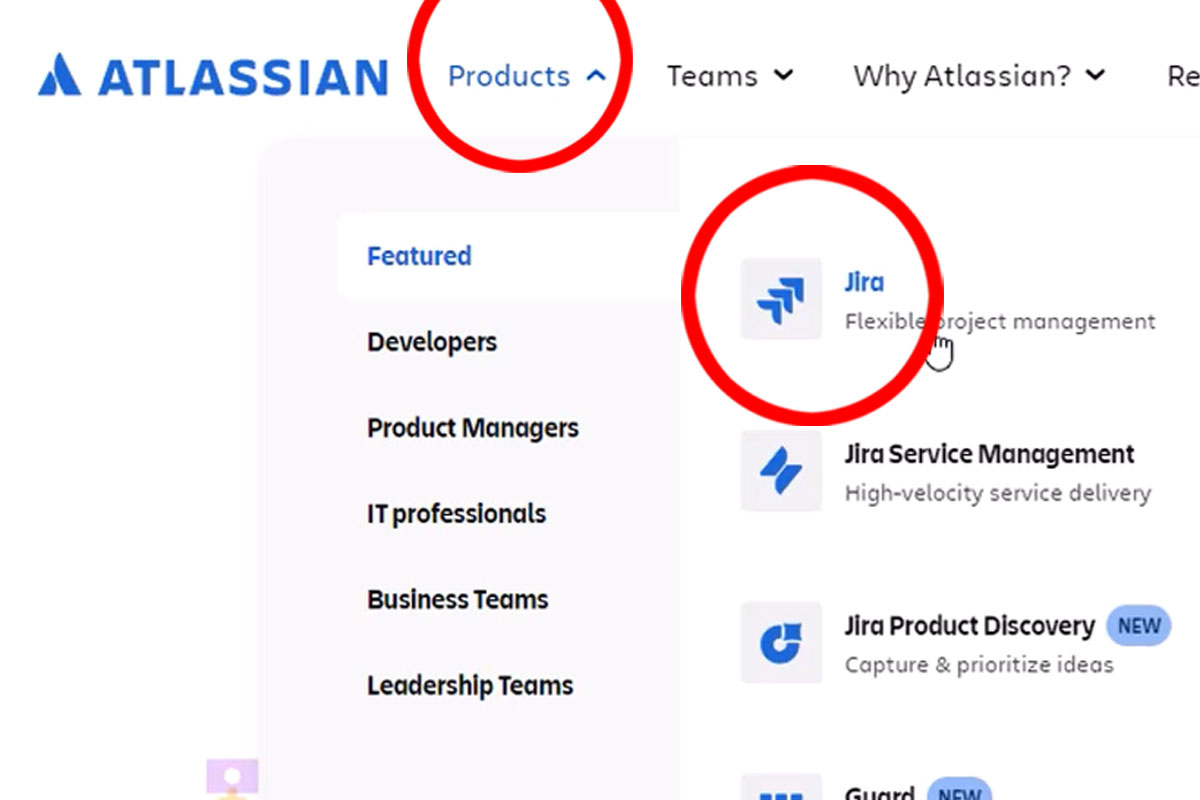
Go to Atlassian.com. In the top navigation bar, select Products, then select the primary or first product that you want on your site. For this tutorial, we’ll select Jira as our first product.
Step 2
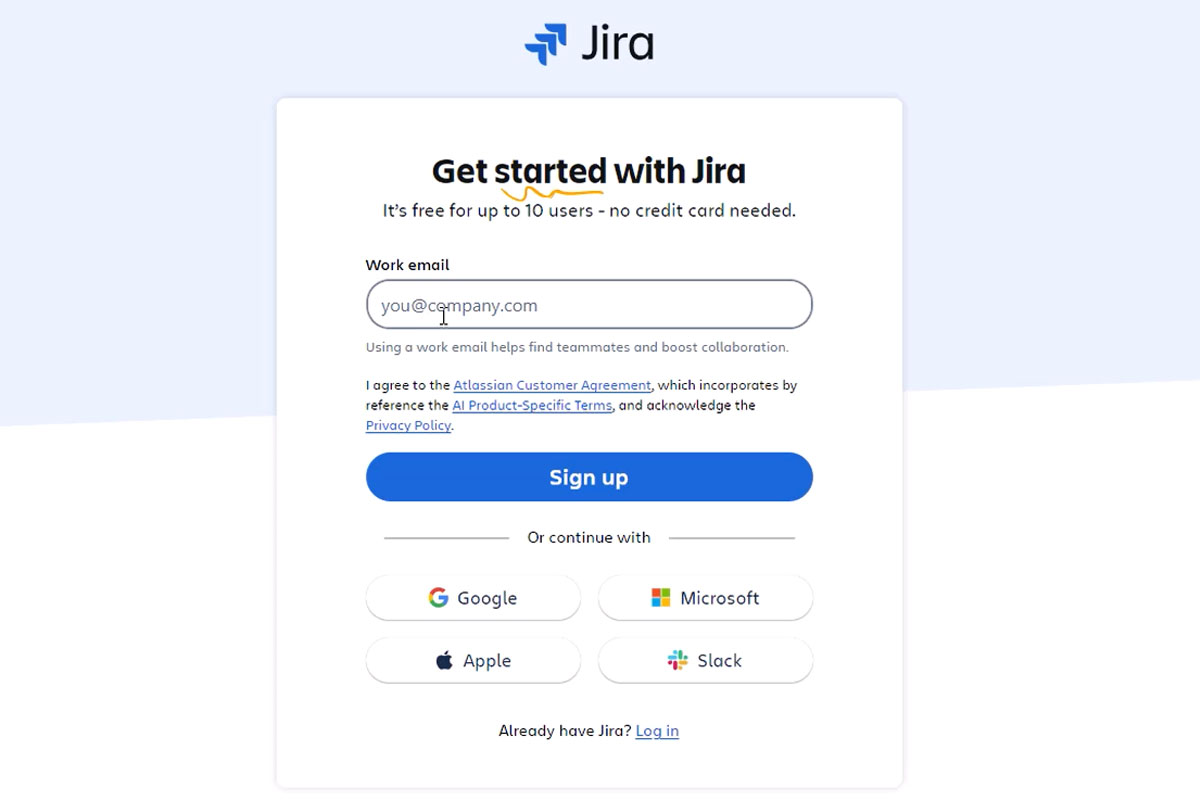
On the main Jira page, select the blue “Get it free” button in the top right corner, then sign up with your email address on the subsequent page. This will make you the initial administrator for your new site and set you as the billing contact. You can always go back and change this later.

NOTE: If this is the first time that you have used your email address in the Atlassian Cloud, you will receive an email from Atlassian with a verification code that you will need to enter. If you already have an Atlassian Cloud account, you won’t see this step.
Step 3
You can now create your site. Start by entering the name of the site, bearing in mind that all sites end in Atlassian.net. If you enter a site name that has already been claimed, you will receive an error message. Once you’ve selected a name that is not taken, clickon Agree and start now.
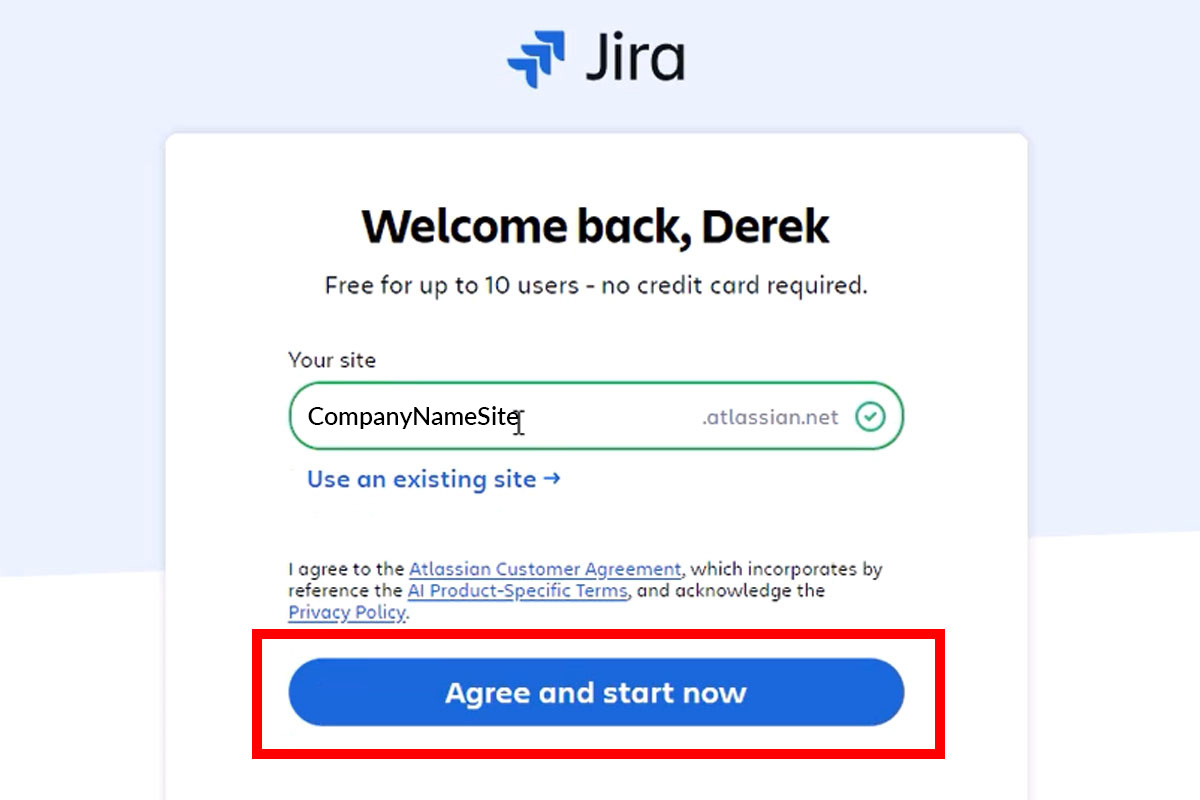
NOTE: Your site URL will have an Atlassian.net domain, NOT Atlassian.com.
Step 4
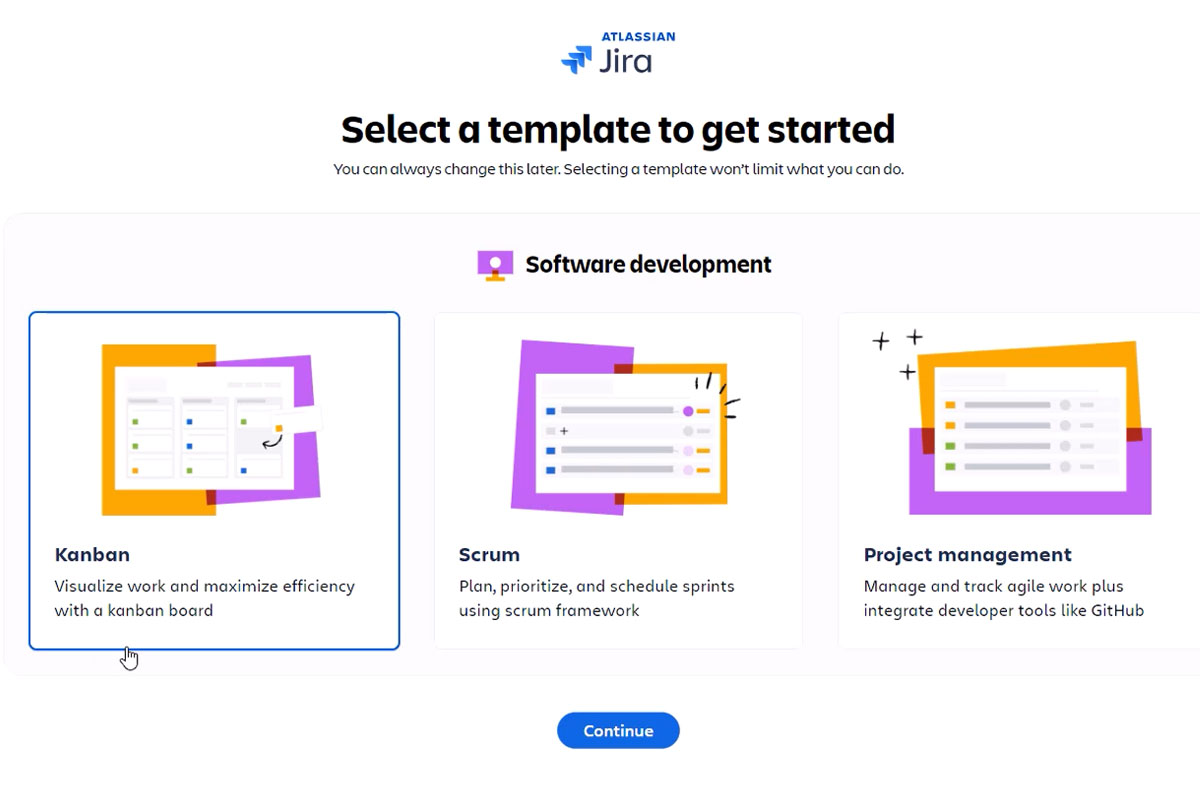
Your new Jira site will prompt you to select a template. This can be changed later. You will be prompted to make some additional selections to set up the template. This setup process may take a few minutes.
Step 5
Select the app launcher (9-dot grid) button in the top left corner, then select Administration.

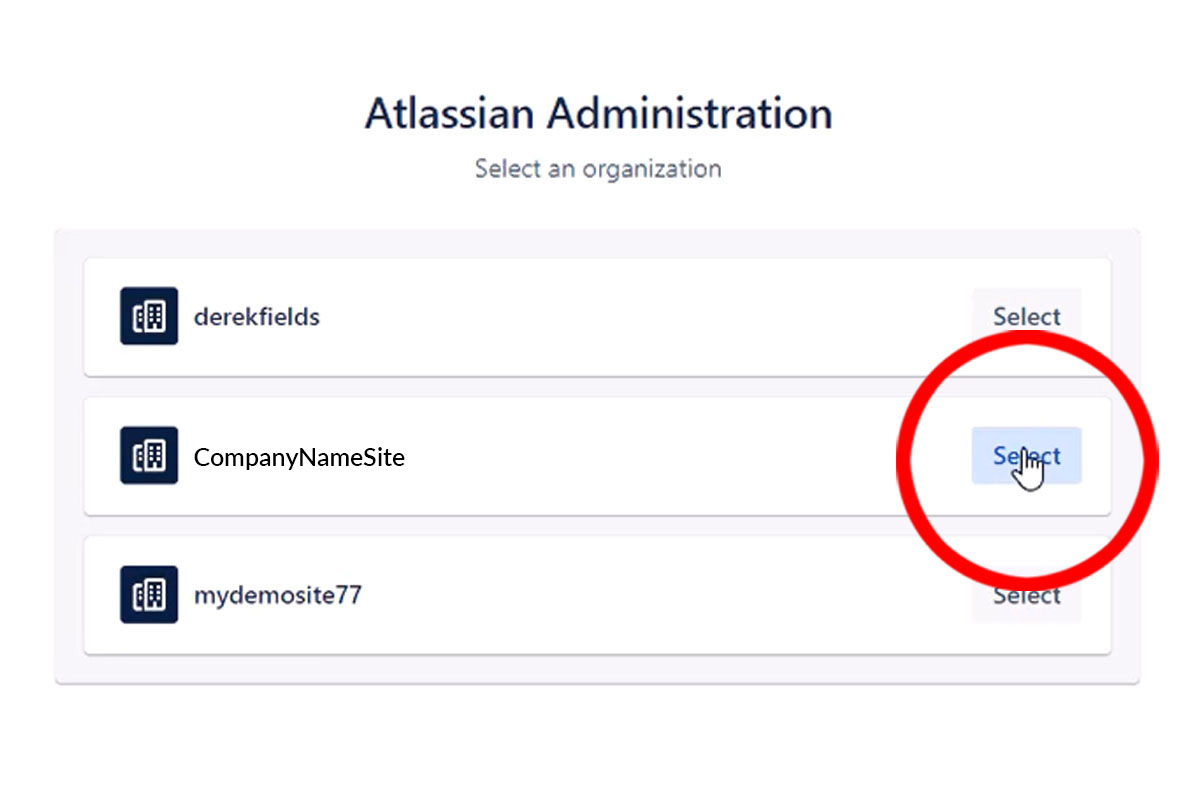
Step 6
Select your new site. If you already have sites in the Atlassian Cloud system, they will be listed here as well.
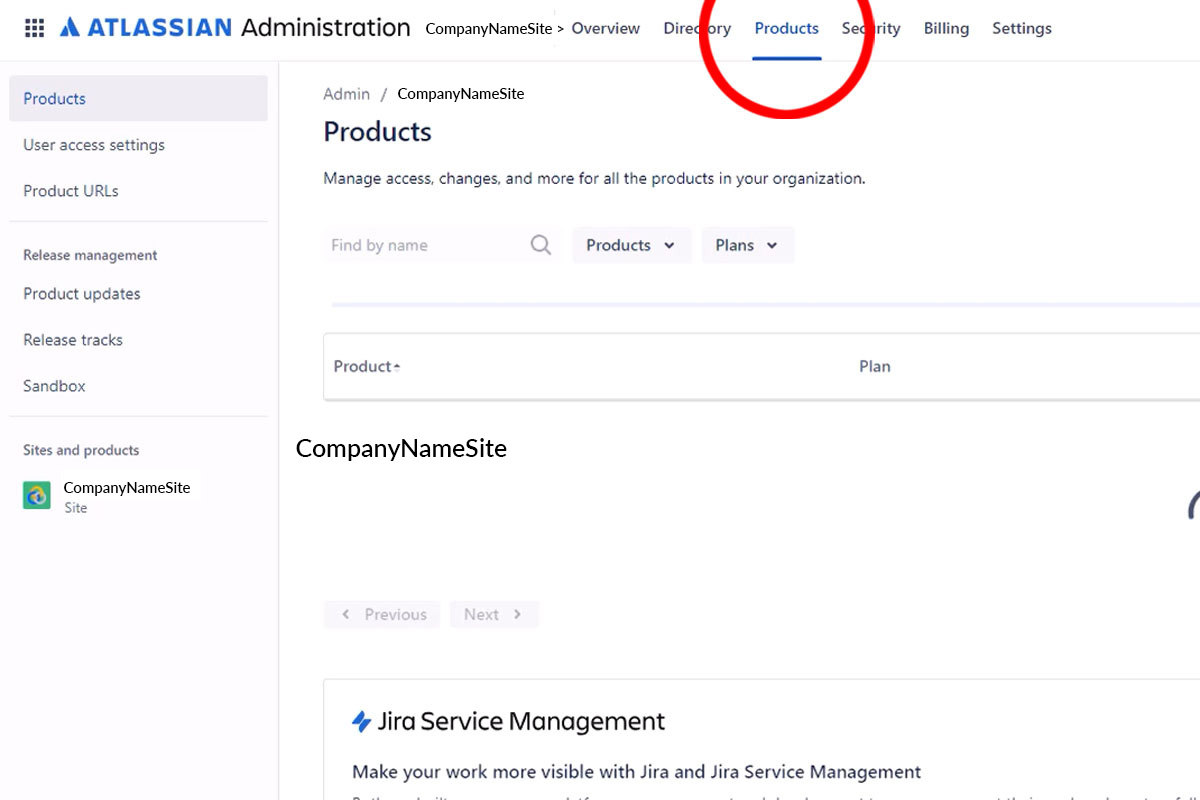
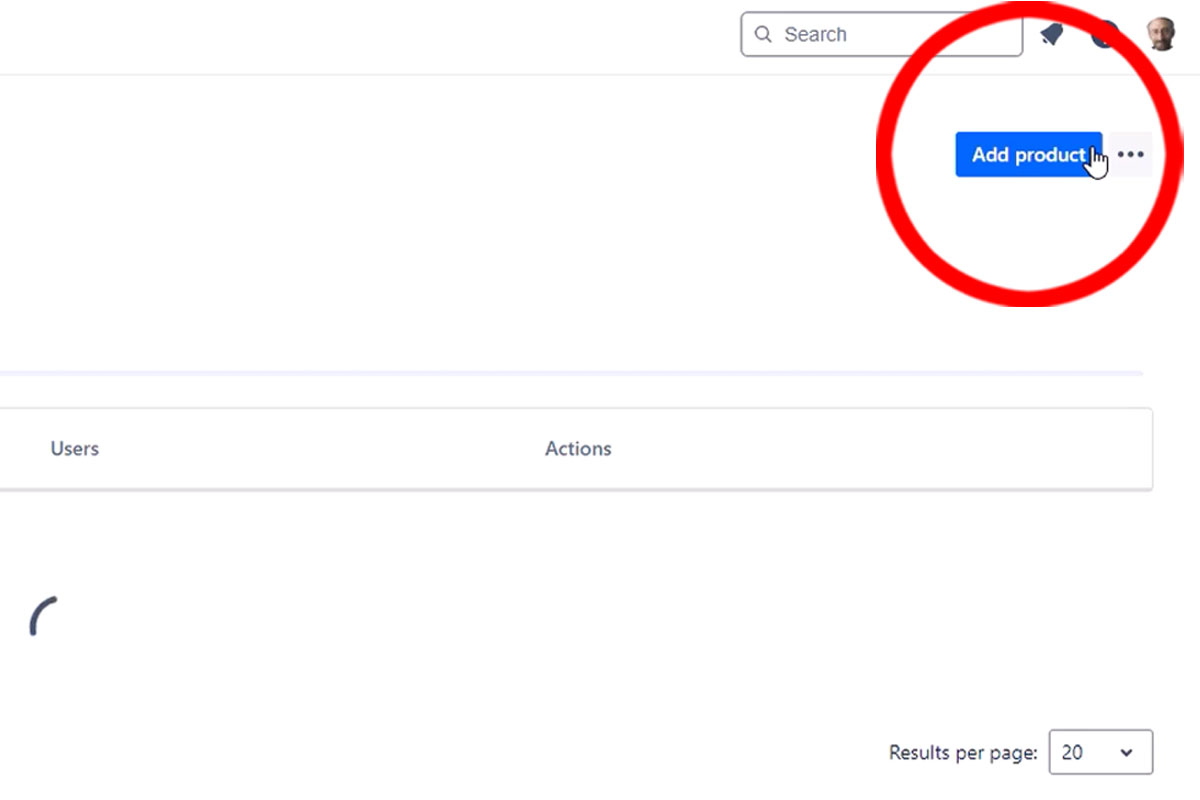
Step 7
Select Products in the top Atlassian Administration menu bar. On the Products page, select the blue Add Product button in the top right corner. This will produce a list of all Atlassian products that you can add to your site, one at a time.
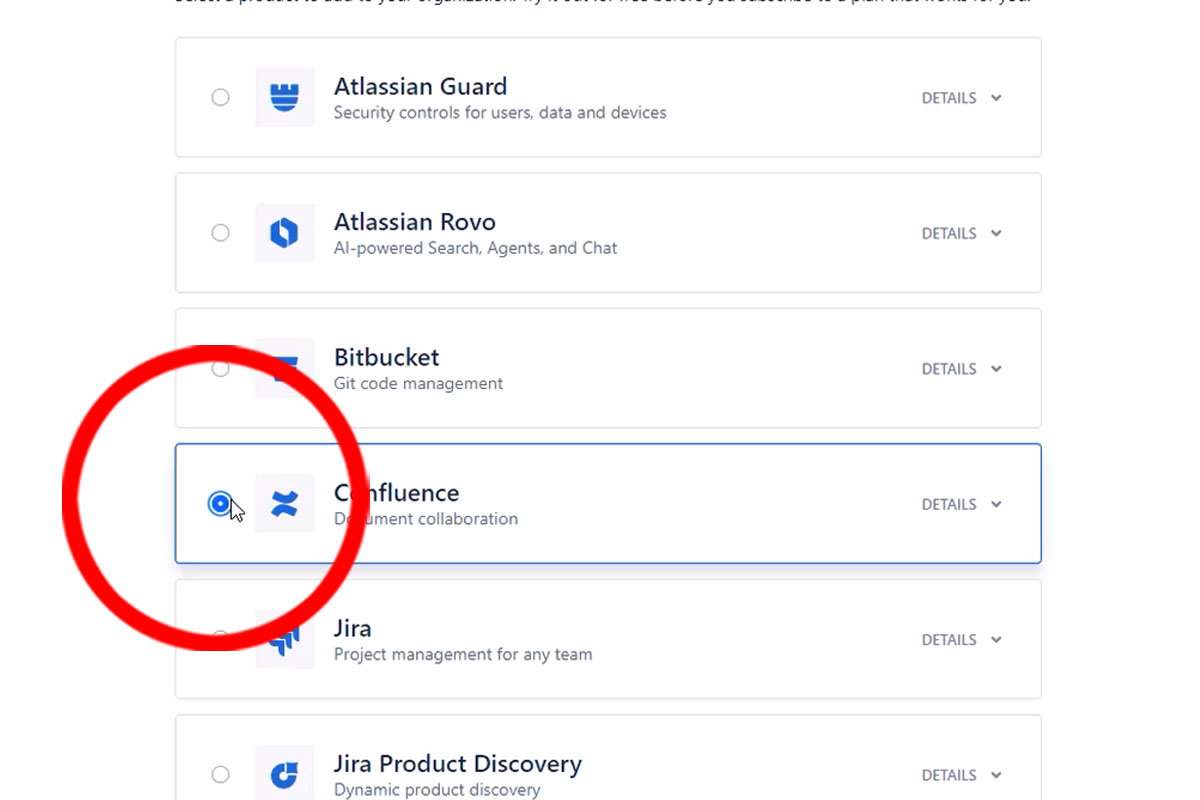
Step 8
Select Confluence.
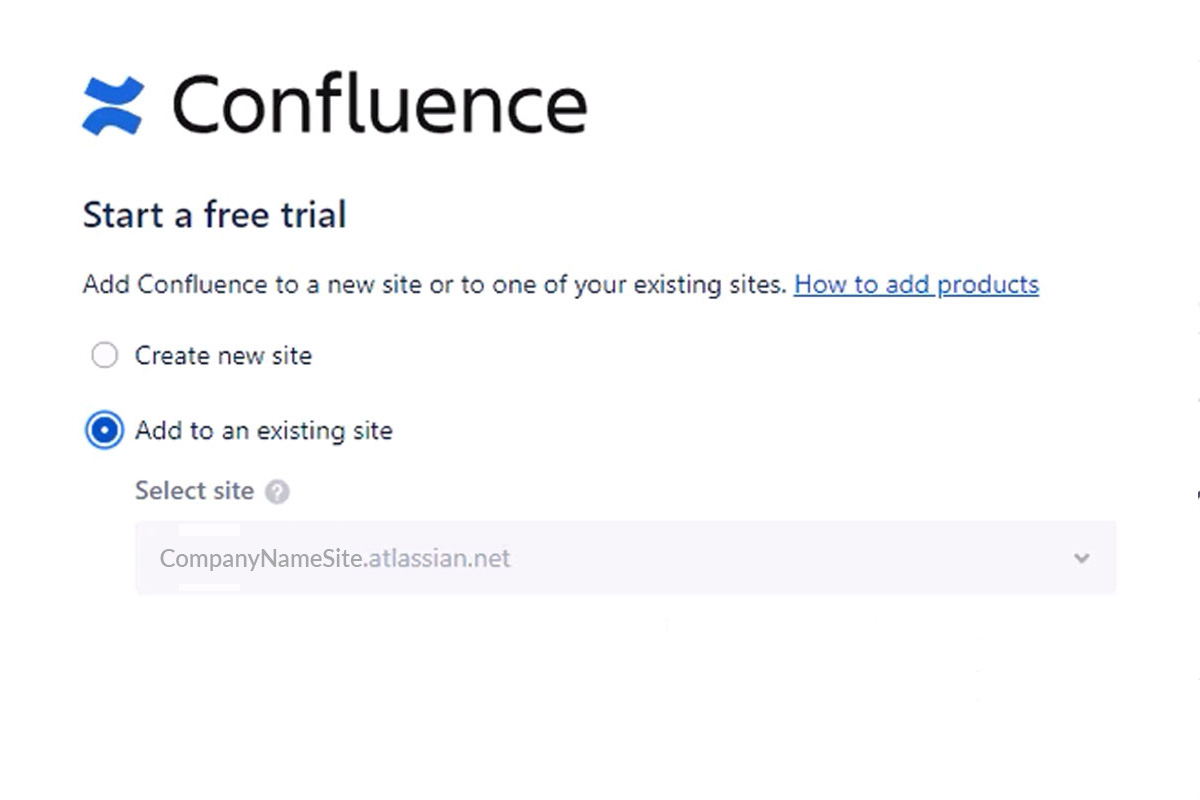
Step 9
On the Confluence “Start a free trial” page, select Add to an existing site and then select your new site. Click Add at the bottom.
Step 10
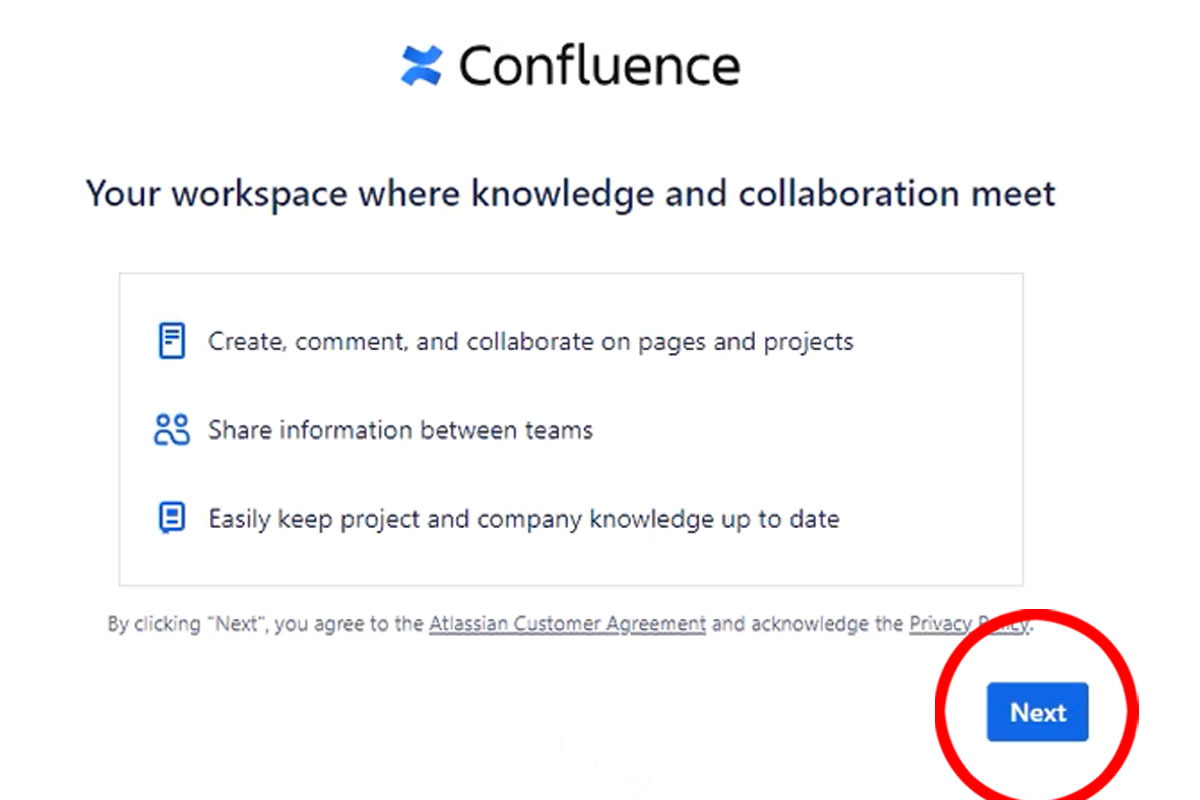
Select Next on the Confluence briefing page.
Step 11
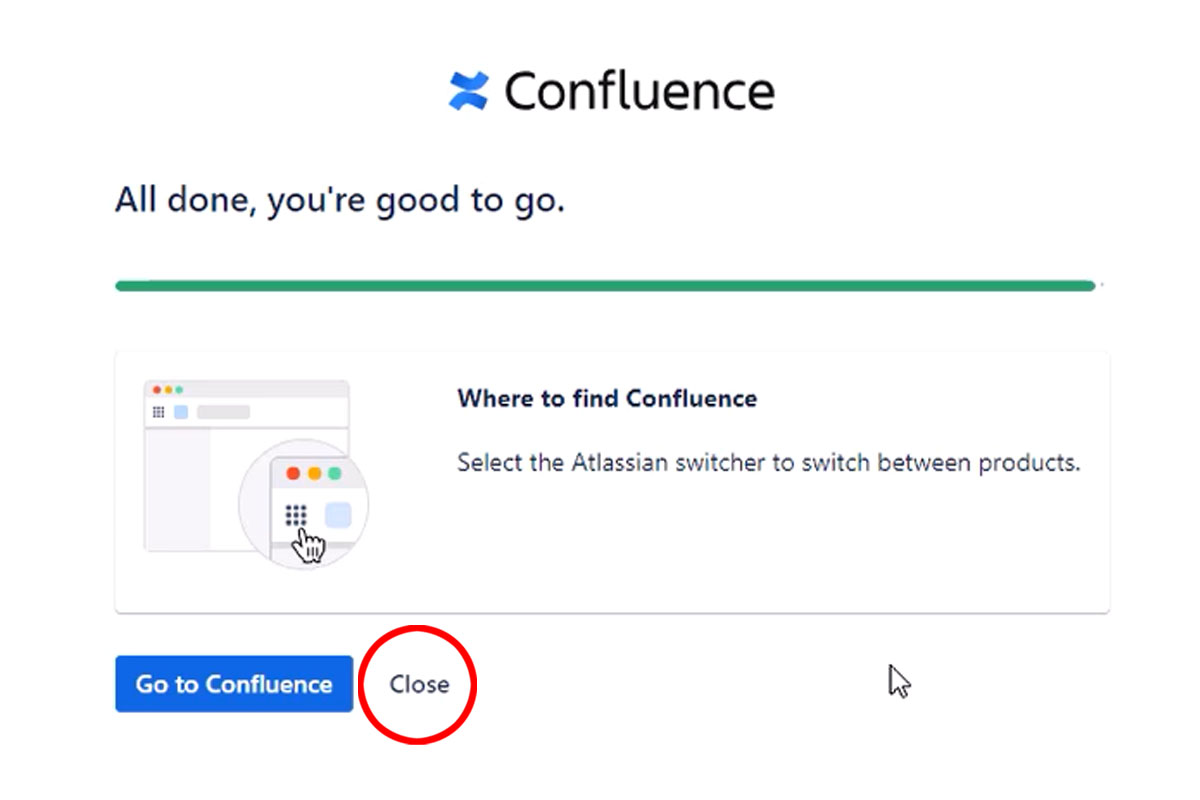
When prompted, instead of selecting “Go to Confluence,” select Close.
Step 12
Repeat Steps 8-11, but for Jira Service Management.
Step 13
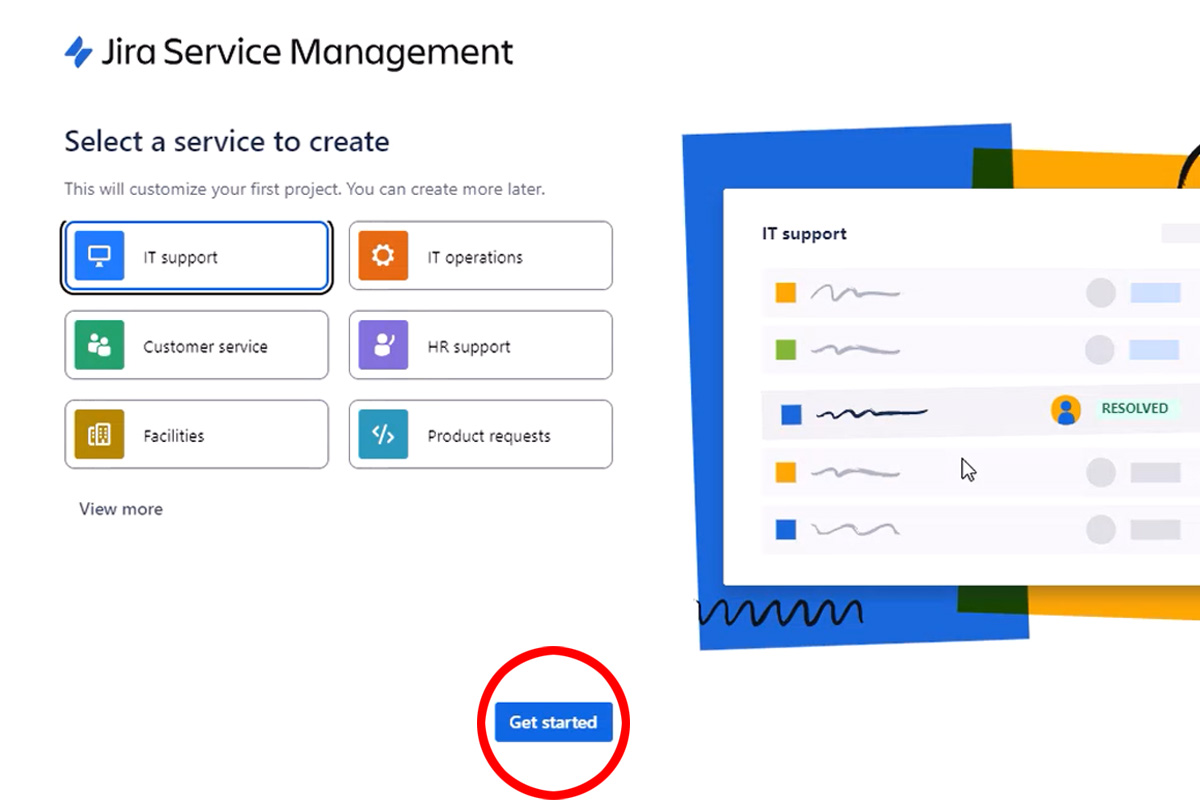
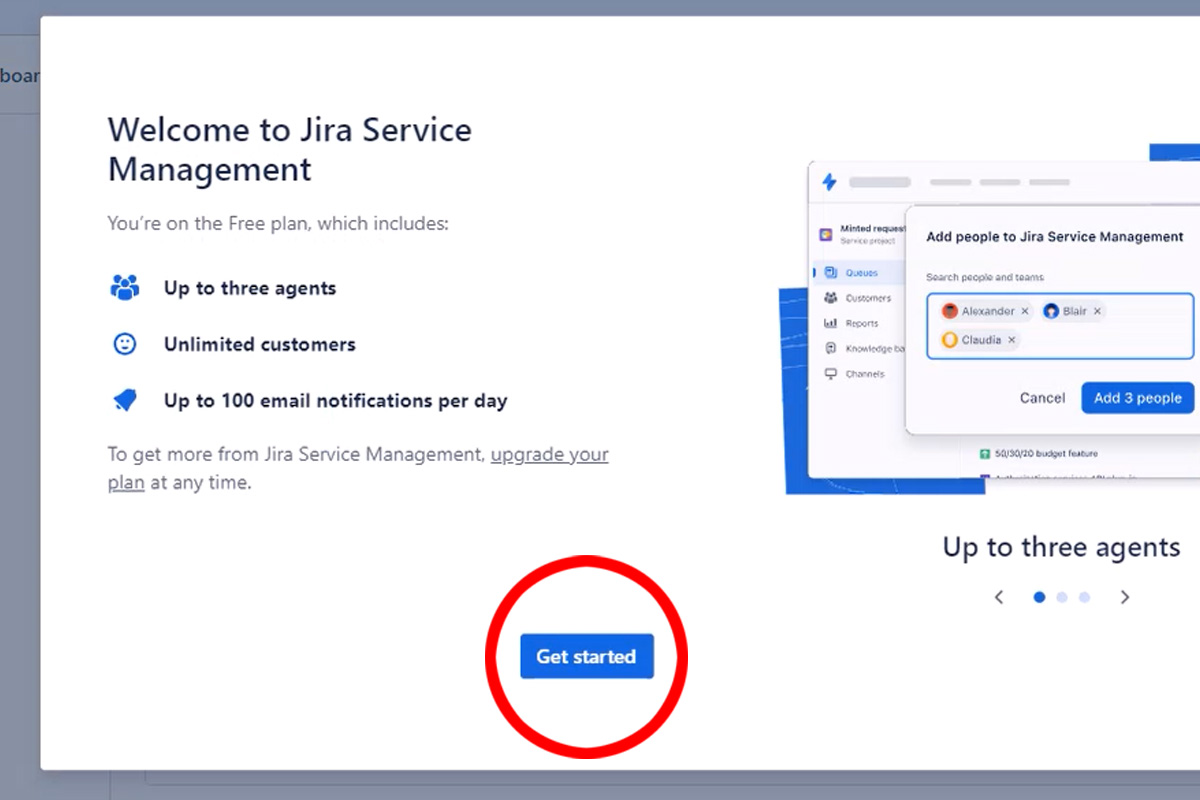
Select a service to create your first Jira Service Management project. This may take a few minutes. Select Get Started when prompted and then again when setup is complete.
Step 14
We’re going to add a pair of popular Marketplace apps to our Jira site to complete our quote: Jira Miscellaneous Workflow Extensions and Xray Test Management for Jira. If you are not sure what apps you need, you can skip this step, and we can advise you based on your business needs.
Select the Apps dropdown from the Jira top navigation bar and select Explore More Apps.

Step 15
Search for Jira Miscellaneous Workflow Extensions. Once found, select it.

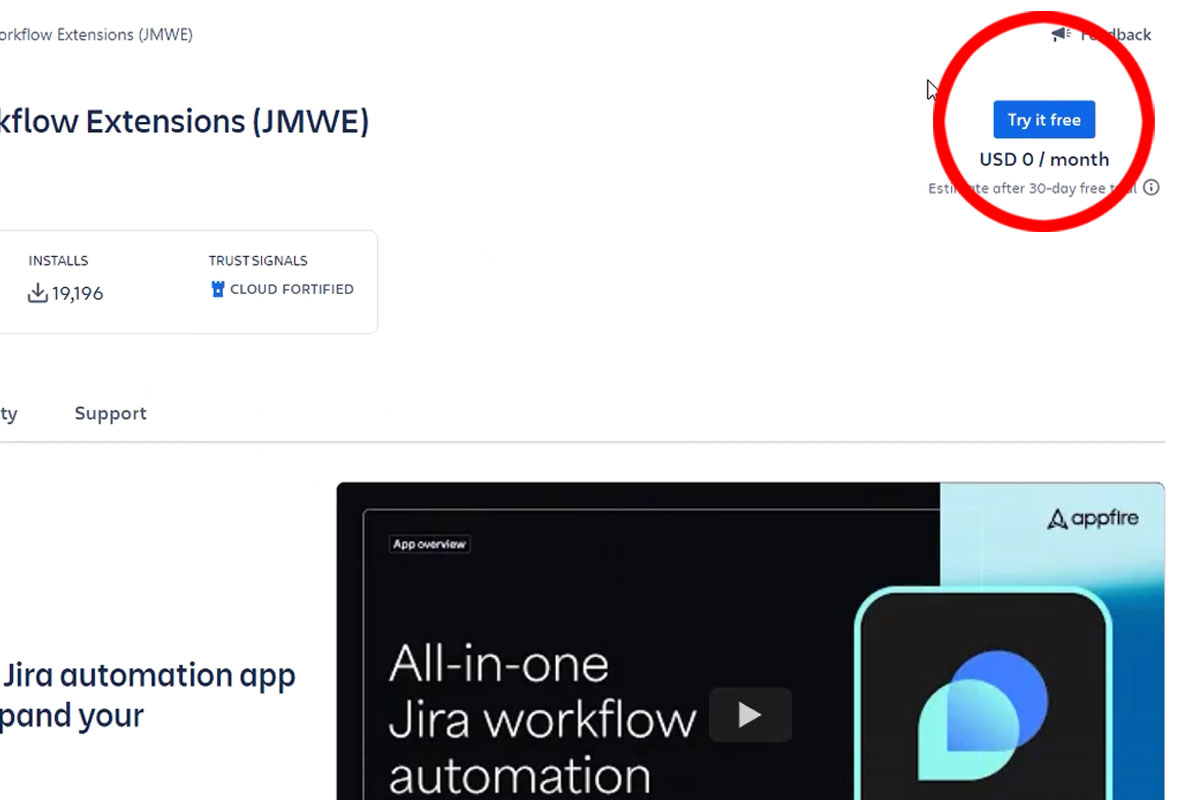
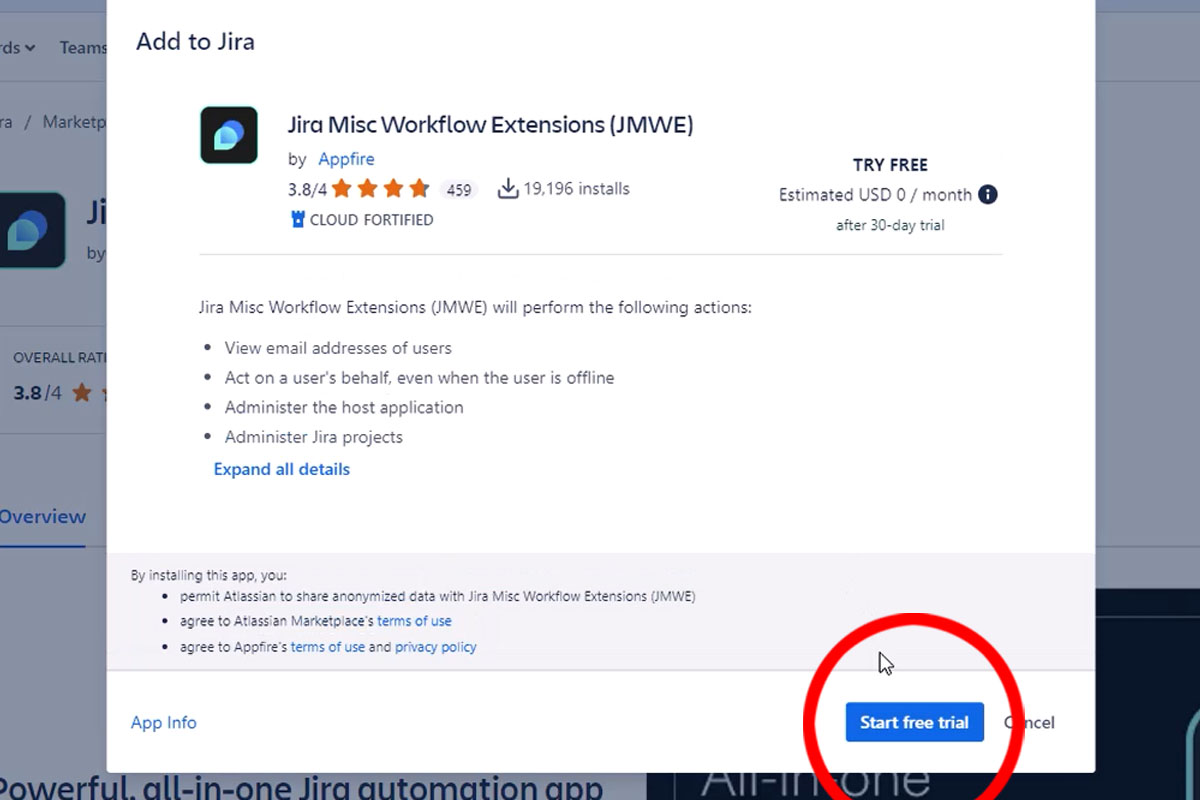
Step 16
On the product page, select the blue Try it Free button in the top right corner. Select the blue Start free trial button on the Add to Jira pop-up.
Step 17
The installation will happen behind the scenes, so you can repeat steps 14-16 but for Xray Test Management for Jira.
Step 18
If you want to see all of the products you’ve included in your site for your quote, you can access them in the Billing tab in the Atlassian Administration panel (which we accessed in Steps 5 and 6).

Final Step
To get a quote for your Atlassian bundle, send your Rightstar/XTIVIA sales manager the following information, and we can generate a quote within a few days:
- The name/address of your Atlassian Cloud (Atlassian.net) website.
- The number of user licenses that you want for each product, excluding the marketplace apps, which are based on your Atlassian product licenses
- Contact information/email for the billing contact for these licenses.
If you have any questions, let us know. We look forward to hearing from you!